
Planting Guide for Asparagus: How to Plant Crowns in Cold Climates and Harvest for 20 Years
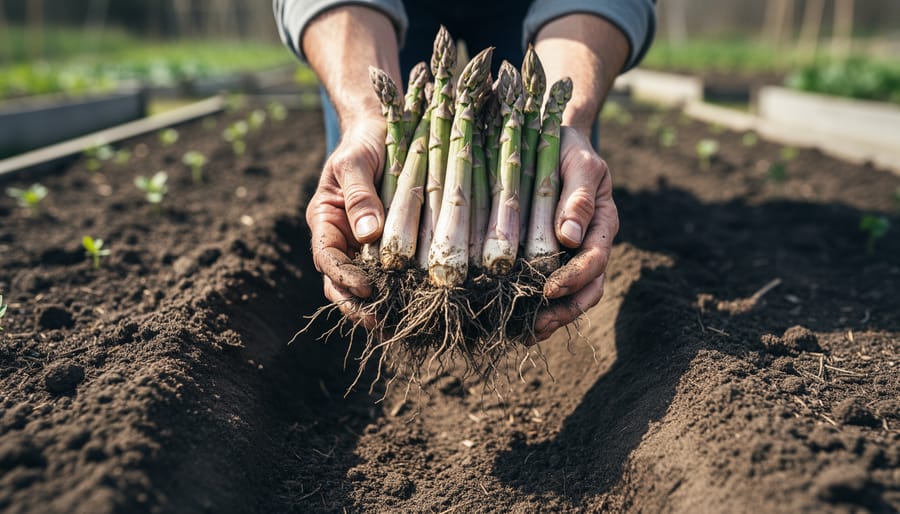
Plant asparagus crowns in early spring, 6 to 8 inches deep in a sunny, well-drained trench, and you’ll be rewarded with spears for 15 to 20 years or more. The job takes an afternoon, it’s beginner-friendly, and the only real prerequisite is patience. You won’t harvest much in year one or two, and that’s the trade for a bed that keeps giving long after you’ve forgotten the work.
If you garden in Zone 3, you might wonder whether asparagus is worth the bother. It is. This is one of the toughest perennial vegetables you can grow, and a hard Alberta winter actually helps it by giving the crowns the deep dormancy they need to send up strong spears each spring. I planted my first row on a cold, windy May weekend, convinced I’d wasted my money. Two springs later, those first green tips pushing through the thawing soil felt like a small miracle. I still check that bed every morning in April.
What matters most comes down to a few early decisions, and they’re easier than they sound.
Asparagus doesn’t forgive a bad location, since you can’t easily move it once it’s settled. So we’ll walk through picking your site and crowns, the timing and tools you’ll need, preparing the bed, and planting step by step, plus the mistakes that trip up even seasoned growers. If you love gardening in cold climates and want a crop that rewards your patience, you’re in the right place. Grab your trowel and tell us in the comments where you’re planting.
Choosing the Right Spot and Crowns for Zone 3
Picking a Permanent, Sunny Home for Your Bed
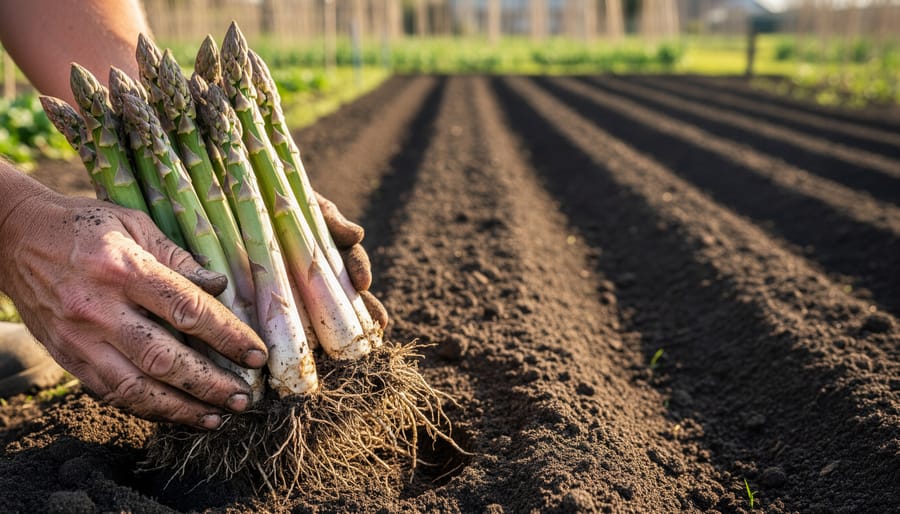
Asparagus stays put for twenty years or more, so choose its home like you’re picking a neighbour. Give it full sun, at least six to eight hours a day, because sunlight feeds the ferns that recharge the crowns each summer. If you’re learning how Zone 3 microclimates work in your own yard, look for the warm pocket along a south-facing fence or wall that thaws first in spring.
Drainage matters just as much. Crowns sitting in cold, wet soil rot long before they sprout. My first bed went into a low corner because it seemed convenient and the soil looked rich. Every April it turned into a soggy sponge, and I spent two springs watching a few sad spears struggle. Moving it to a slightly raised, better-draining spot changed everything.
A few more things to check before you dig:
– Some wind protection helps, since tall, brittle ferns can snap in a gale, but don’t tuck the bed into deep shade.
– Stay well clear of tree and shrub roots, which will steal water and nutrients for years.
– Skip any area you might redesign later, like a future patio, shed, or fence line.
Crowns vs. Seeds, and Varieties That Handle Cold Winters
For most gardeners, one-year-old crowns are the easiest way to get an asparagus bed going. A crown is a young plant with its roots already established, and it saves you a full year over starting from seed. Seeds do work, and they’re cheaper, but you’ll start them indoors in late winter, nurse the seedlings along, and wait roughly an extra year before the bed is established. If you love the process, go for it. If you want spears sooner, buy crowns.
Variety matters in a cold climate. Jersey-type hybrids, such as Jersey Knight and Jersey Giant, are popular because they’re mostly male plants. Male plants don’t spend energy making berries and seedlings, so they tend to produce thicker, more abundant spears. They also handle cold winters well and resist common diseases like rust and fusarium. If you prefer open-pollinated types, Mary Washington is an old, dependable choice that has been grown in cold regions for generations. It will produce some female plants, which means a few volunteer seedlings, but the flavour is lovely.
When you’re buying crowns, look for these signs of health:
– Plump, firm roots that spread out like an octopus, not shriveled or brittle ones
– Several bud tips visible at the centre of the crown
– No mould, soft spots, or sour smell
Buying locally lets you inspect crowns in person, while mail order often offers more varieties. Either way, plant them soon after they arrive so they don’t dry out.
What You’ll Need Before You Start: Tools, Materials, and Timing
Before you head out to the garden, it helps to gather everything in one place. Asparagus goes in once and stays for twenty years or more, so you don’t want to be running to the shed halfway through digging a trench. Here’s what I set out on the tailgate every spring:
- A sharp spade or shovel for digging the trench
- A garden fork to loosen the soil underneath
- Compost or well-rotted manure to feed the bed
- Bone meal or a balanced organic fertilizer for strong root growth
- Mulch, such as clean straw or shredded leaves
- A watering can or hose with a gentle spray
- Garden stakes and string to keep your rows straight
- Dormant asparagus crowns, kept cool and damp until planting
Now for timing, which matters more than most new growers expect. In Zone 3, the best planting window opens as soon as the soil can be worked in spring. That means the ground has fully thawed and no longer feels soggy. Here’s a simple test: grab a handful of soil and squeeze it. If it crumbles when you poke it, you’re good to go. If it forms a wet, sticky ball, give it a few more days. Digging in waterlogged soil packs it down and can harm the crowns later. For more on cold-climate planting timing we’ve got a handy guide that applies well beyond peppers.
In Alberta, that window often lands in late April or early May, though it shifts from year to year. Asparagus is quite happy to go in while the nights are still chilly. The University of Minnesota Extension also offers helpful advice on planting asparagus in spring if you’d like a second opinion from another cold-winter region.
Preparing the Bed for Long-Term Success
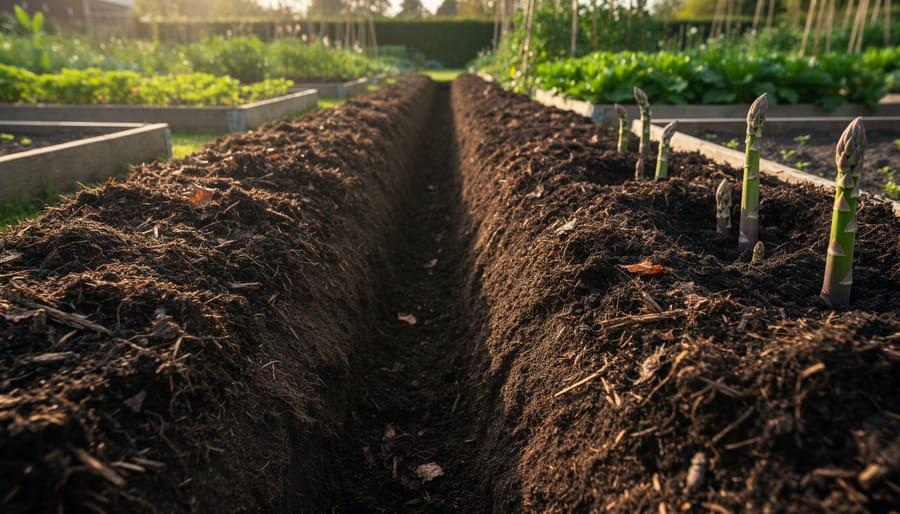
If you take one thing from this guide, let it be this: the bed matters more than the crowns. Asparagus will sit in the same spot for twenty years or more, and once it’s planted you can’t rototill, amend, or dig out weeds without damaging the roots. Whatever you do now, you live with for a long time.
Start with the weeds. Perennial roots like quackgrass, bindweed, and dandelion are the real enemies here, because a single chunk of root left behind will pop up between your asparagus crowns every spring. Dig them out by hand, shaking the soil loose and tossing the roots in the trash rather than the compost pile. Go over the bed twice, a couple of weeks apart, to catch what regrows.
I learned this one the hard way. My first Alberta bed looked spotless the day I planted, but I’d rushed the quackgrass. By midsummer it had woven itself right through the crowns, and I spent the next two seasons teasing white runners out from between the roots with a hand fork. Take the extra afternoon now and save yourself that headache.
Next, loosen the soil about 12 inches deep with a garden fork so the roots can spread without hitting a wall. Then work in a few inches of finished compost or well-rotted manure to feed the bed and improve its texture. Fresh manure can burn young crowns, so make sure it’s properly aged.
Check drainage while you’re at it. Dig a hole, fill it with water, and see how long it takes to drain. If it’s still standing after several hours, choose a different spot or build a raised bed.
Asparagus likes soil that’s neutral to slightly alkaline, around pH 6.5 to 7.5. A simple soil test is well worth it, and many local garden centres or extension offices can help you with one.
Planting Asparagus Crowns Step by Step
Here’s the part where it all comes together. Once your bed is prepped and your crowns are in hand, you’re ready to plant. Try to get those crowns in the ground within a day or two of bringing them home. Asparagus crowns are dormant, but their roots dry out fast, and a shriveled crown has a much harder time waking up. If bad weather forces a delay, keep them in a cool spot wrapped in a damp towel, never sitting in water.
In cold climates like ours, the trench method is a real friend. Planting a little deeper protects the crowns from our wild spring temperature swings, and filling the trench in slowly keeps the young spears from getting overwhelmed. Here’s how I do it:
- Soak the crowns in a bucket of room-temperature water for about 20 to 30 minutes while you dig, which gives the roots a good drink.
- Dig a trench roughly 6 to 8 inches deep and about a foot wide, running north to south if you can so the plants shade each other evenly.
- Build a small ridge of compost-enriched soil along the bottom center of the trench, like a low, rounded spine.
- Set each crown on top of the ridge with the buds pointing up, and drape the roots down both sides like an octopus.
- Space the crowns about 12 to 18 inches apart within the row, and leave 3 to 4 feet between rows so everyone has room to spread.
- Cover the crowns with just 2 to 3 inches of soil, leaving the trench still mostly open.
- As the spears grow, add a couple more inches of soil every couple of weeks until the trench is level with the surrounding bed.
- Water deeply and spread a layer of mulch to hold moisture and keep weeds down.
That slow fill is the step people most often want to rush, but patience pays off here. Covering the crowns all at once can smother the buds and slow everything down, while gradual filling encourages strong roots and sturdy spears.
I remember standing at the edge of my first trench in Alberta, looking at those spidery little crowns and thinking they looked like nothing at all. Give them time. By the time the trench is level, they’re quietly building the root system that will feed you for years. Keep the soil evenly moist through the first season, and resist the urge to peek too often. They’re working underground, even when you can’t see it.
Safety Notes and Common Planting Mistakes to Avoid
Planting day is a joyful one, but a few simple precautions keep your back, your hands, and your future harvests in good shape.
Start with the practical stuff. Bags of compost and aged manure are heavier than they look, so bend your knees, keep the load close to your body, and take two smaller trips instead of one heroic one. Wear gloves whenever you handle manure, and wash your hands well before you touch your face or grab a snack. If you use any fertilizer, read the label, measure carefully, and keep it off the crowns themselves, since concentrated products can burn tender roots.
Now for the mistakes that quietly cost new growers years. I made a few myself, and every one of them taught me patience.
– Planting too shallow or too deep. Stick to the trench depth we covered earlier, then fill in gradually as shoots grow.
– Planting in soggy ground. Wet soil rots crowns, so wait if you can squeeze water from a handful.
– Crowding crowns. They look tiny now, but they need room to spread for decades.
– Skipping weed control. Quackgrass in an established bed is a nightmare, so do the hard clearing up front.
– Harvesting too soon. Those first spears are tempting, but letting the ferns grow feeds the roots for years to come.
If the soil is still frozen or the bed is a muddy mess, take a breath and wait a week or two. The crowns will keep in a cool spot, and asparagus is happy to be a little late rather than rushed.
Checking Your Progress and Planning the Next Steps
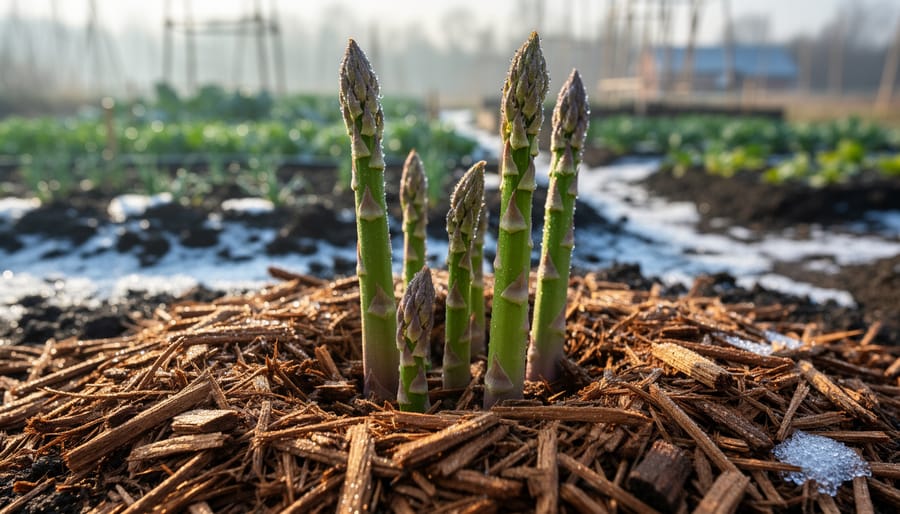
You’ll know the planting worked when pale green spears poke through the soil, usually two to four weeks after planting once the ground has warmed. In cooler Alberta springs, I’ve waited closer to five weeks and held my breath the whole time. Healthy spears are firm and slender, and they keep coming through the first season. If nothing appears after six weeks, gently dig down beside one crown. Plump, white-to-tan buds mean it’s just slow, so keep the soil lightly moist and wait. Mushy or papery, shriveled crowns won’t recover and should be replaced.
First-year care is simple. Water deeply about once a week if rain is scarce, spread a few inches of straw or shredded leaves to hold moisture and calm the weeds, and pull weeds by hand so you don’t disturb the crowns. Let the tall, feathery ferns grow all summer, because they feed the roots for next year. Once they yellow in fall, cut them back to a few inches above the soil and add fresh mulch for winter. Our cold-climate winter tips will help you protect the bed through the long freeze.
Expect to skip harvesting in year one, take only a few spears in year two, and enjoy a full harvest from year three on. For ongoing care, head back to our Guide on Growing Asparagus, and check out our courses and community for more help.
How long until I can harvest?
Wait until the third spring after planting crowns for a full harvest. A light pick of a few spears in year two is fine if the plants look strong.
Can I plant asparagus in fall in Zone 3?
Spring planting is the safer choice in Zone 3, since crowns need time to settle before hard frost. Fall planting risks the crowns heaving or rotting in cold, wet soil.
What if my crowns don’t sprout?
Dig carefully beside the crown to check its condition. Firm buds just need more time and steady moisture, while mushy or dried-out crowns should be replaced.
Do I need both male and female plants?
No, you don’t. Male plants tend to produce more spears, and many hybrid varieties are mostly male, so a single variety works well.
Wherever your bed is at, I’d love to hear how your first spears turned out.
Conclusion
Planting asparagus asks for a little faith and a lot of patience, but the payoff is hard to beat. Take your time with the bed, set those crowns in at the right depth, and keep the weeds from creeping in. Do that, and you’ve set up a patch that can feed you for twenty years or more, even through our cold Alberta winters.
I still think about my first tender spears poking through the soil after that long wait. That feeling is waiting for you too. Some years you’ll fuss over the bed, other years you’ll just enjoy the harvest, and that’s perfectly fine.
We’d love to hear how your planting goes. Share your photos, your wins, your head-scratching moments, and any questions with the Garden Seeds community. Someone has probably been right where you are, and there’s always a neighbour happy to swap advice. When you’re ready for more, explore our other guides and courses, and keep growing.