
How to Landscape Fire-Damaged Property to Help Sell Your House
Restoring a fire-damaged landscape typically takes four to eight weeks and costs between $3,000 and $12,000, depending on the extent of damage and your Zone 3 growing season timing. The process follows a clear sequence: professional safety clearance, debris removal, soil remediation, replanting with hardy natives, and staged verification before listing your home. For homeowners in Alberta dealing with the aftermath of a property fire, propertysaviour.co.uk outlines how tackling the charred yard feels overwhelming, but strategic landscaping work directly impacts your ability to sell quickly and at a fair price, with exterior appearance driving buyer interest even when the structure needs work.
I know how it feels to stand in your yard after a fire. The smell lingers. The once-green spaces now look like a war zone. Last spring, I helped a neighbor in Red Deer whose garage fire spread to her beautifully established perennial beds, the ones she’d tended for a decade. That first walk-through was crushing. But here’s what we learned: methodical landscape recovery not only makes your property marketable, it gives you back a sense of control when everything else feels chaotic.
Zone 3 adds another layer of complexity. Our short growing season means timing matters enormously. Plant too late and nothing establishes before frost. Rush the soil work and toxins linger. This guide walks you through each phase with Alberta-specific considerations, safety protocols you can’t skip, and practical steps that rebuild curb appeal without wasting money on plantings that won’t survive.
Understanding Fire Damage in Your Garden (What You’re Dealing With)
Walking through a fire-damaged garden feels overwhelming. You might see blackened stumps where your lilac hedge stood, a layer of grey ash coating everything, and plants that look half-alive, half-dead. Before you grab a shovel and start digging, understanding what actually happened to your outdoor space makes the restoration process much clearer.
Fire damage comes in distinct categories, each requiring different approaches. Surface damage is the most visible, scorched grass, singed shrubs, and charred bark on trees. This looks terrible but often isn’t the worst problem. Your lawn might recover if the roots survived underground, and woody plants can sometimes be pruned back to healthy wood. The key is distinguishing between cosmetic damage (ugly but survivable) and total loss.
Soil contamination presents a sneakier challenge, especially in Alberta’s Zone 3 conditions where you have maybe four months to fix things. Fire ash isn’t just dirt, it dramatically raises soil pH, sometimes turning moderately acidic garden soil alkaline overnight. Ash from burned structures can contain heavy metals, chemicals from treated wood, asbestos, or other toxins that make growing food plants risky. Even “clean” wildfire ash alters soil chemistry enough to stress new plantings.
The short Zone 3 growing season compounds these problems. You can’t just wait for rain to gradually leach contaminants or for time to balance soil chemistry naturally. If your property burned in spring or summer, you have limited weeks to address soil issues and establish new growth before winter shuts everything down. Fall or winter fires give you a bit more planning time but mean you’re staring at dead landscape through months of showings.
Dead and dying plants create the final category of damage. Some trees and shrubs look salvageable but are actually goners, roots cooked underground, cambium layer destroyed, or internal damage that won’t show until next growing season. Evergreens like spruce turn brown weeks after exposure to intense heat, even if flames never touched them. Deciduous trees might leaf out weakly then collapse mid-summer. These delayed failures complicate your timeline when you’re trying to get a property market-ready quickly.
Safety First: What to Check Before You Start
Before you touch a single rake or shovel, step back and assess what you’re walking into. Fire damage creates hazards that aren’t always obvious, and the last thing you need is an injury or further property damage while trying to improve your home’s sale prospects.
Start by contacting your local fire department to confirm the property is officially safe to enter and work on. They’ll verify that there’s no lingering risk of hot spots or structural collapse. Next, call your insurance company. Many policies require documentation before cleanup begins, and starting too early could complicate your claim or leave you responsible for costs that should be covered.
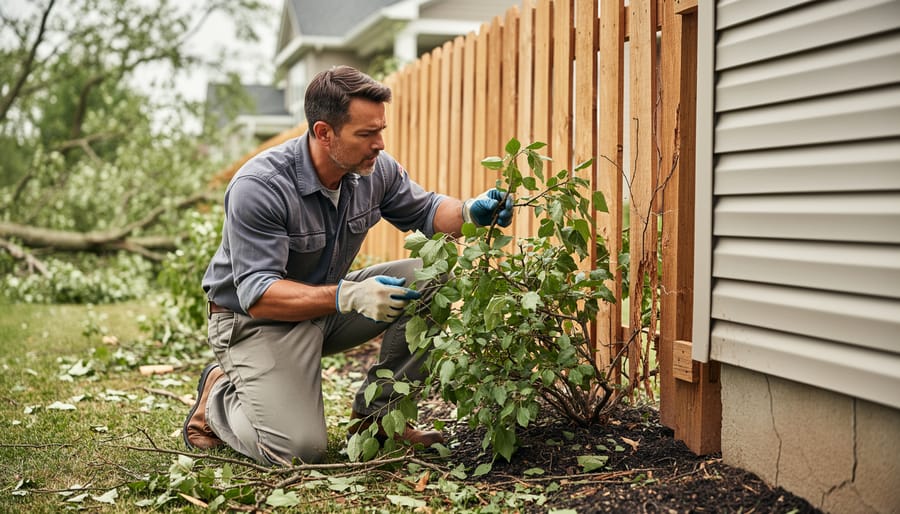
Walk your property and look up, down, and around. Scan for trees with blackened trunks, missing bark, or leaning angles they didn’t have before. These can topple with little provocation, especially during Alberta’s frequent spring winds. Check fences, arbors, and any structures for charring or instability. If something looks questionable, assume it’s unsafe until a professional confirms otherwise.
Utility lines demand extreme caution. Downed or damaged electrical, gas, or water lines are life-threatening, and you should treat power lines as energized even if they appear dead. Call your utility companies to inspect and clear the area before you begin any work near where lines run.
Finally, consider the ash and debris itself. Fire residue can contain toxic chemicals from burned plastics, treated lumber, roofing materials, and household items. If the fire affected structures or anything beyond natural vegetation, wear a proper respirator (not just a dust mask), heavy gloves, and long sleeves during initial assessment. Don’t let kids or pets near the area until you’ve cleared it with professionals.
Patience now prevents disasters later. A thorough safety check protects you and makes the actual restoration work far more straightforward.
What You’ll Need: Tools, Materials, and Help
Restoring a fire-damaged landscape requires the right combination of equipment, materials and sometimes professional help. Having everything on hand before you start prevents frustrating mid-project trips to the hardware store and keeps momentum going when you’re working against Alberta’s short growing season.
Your toolkit falls into four categories:
- Cleanup equipment: Heavy-duty rakes, shovels, wheelbarrow or garden cart, contractor bags, wire cutters for damaged fencing
- Soil restoration supplies: pH test kit, compost or aged manure, peat moss, gypsum for clay soil amendment, topsoil for severe cases
- Planting materials: Fast-growing perennials like daylilies and hostas, hardy shrubs such as potentilla, ground covers, mulch (wood chips or shredded bark)
- Safety gear: Heavy-duty gloves, dust masks or respirators, protective eyewear, steel-toed boots, long sleeves and pants
You’ll find most of these items at local garden centers, though checking out the best gardening tools available online can save money on quality equipment that’ll last beyond this project.
Some tasks demand professional help. Hire a certified arborist for any tree over fifteen feet or near power lines. Bring in a soil testing lab if you suspect chemical contamination beyond typical ash. A landscaping company with heavy equipment makes sense when you’re dealing with multiple dead trees or major grading issues, particularly if you’re on a tight timeline to list the property.
Community resources can lighten both the physical and financial load. Some municipalities offer free yard waste pickup after disasters, and local garden clubs occasionally organize volunteer workdays for fire recovery. Your insurance may cover landscaping restoration costs, so document purchases with receipts and photographs before you begin.
Step-by-Step: Restoring Your Fire-Damaged Landscape
Clear Debris and Assess What Can Be Saved
Start by walking the entire property with a wheelbarrow and heavy-duty garbage bags, removing obvious debris, charred branches, melted plastics, burnt fencing. Work methodically from one corner to the other so you don’t miss areas or double back unnecessarily.
For plants, check for signs of life before ripping everything out. Scrape bark gently with your thumbnail: green cambium underneath means the plant might recover. Flexible branches that snap rather than crumble still have moisture inside. Even blackened shrubs sometimes send up new shoots from the root crown, especially hardy Alberta natives like saskatoon or honeysuckle.
Trees need careful assessment. A completely scorched crown usually means the tree’s gone, but if less than half the canopy is damaged and the trunk bark isn’t deeply cracked, it might survive. When in doubt, leave larger trees for an arborist, they’re expensive to remove and dangerous if you misjudge stability.
Dispose of ash-coated materials separately from regular yard waste; some municipalities have special collection for fire debris. Never burn additional material on site, ash layers already contain concentrated contaminants that you don’t want to spread further.
Restore and Amend the Soil
After you’ve cleared the debris, your soil likely needs serious attention, fire ash can swing pH levels, heat may have destroyed beneficial organisms, and you might be dealing with chemical residues from burned structures or treated wood. Start by testing your soil pH with a simple kit from any garden center; fire-damaged soil often becomes more alkaline, which limits nutrient availability for most plants. If your test shows pH above 7.5, or if you suspect contamination from melted plastics, asphalt, or pressure-treated materials near the burn zone, remove the top 4-6 inches of soil and haul it away as recommended by your local waste authority.
For Alberta’s heavy clay soils, restoration means working in generous amounts of compost, at least 2-3 inches tilled into the top 8 inches, to rebuild structure and microbial life that fire destroyed. Add aged manure, peat moss, or composted wood chips to improve drainage and create the loose, fertile base plants need to establish quickly. This is your chance to properly prepare soil for the long term, not just patch the surface. Because Zone 3 gives you roughly 110 frost-free days, tackle soil work as soon as the ground thaws in spring so amendments have time to integrate before you plant in late May or early June.
Remove or Prune Damaged Trees and Shrubs
When you’re looking at fire-damaged trees and shrubs, your first instinct might be to yank everything out, but hold on. Some woody plants can bounce back with strategic pruning, saving you money and giving your yard instant maturity that buyers appreciate.
Start by scratching the bark with your thumbnail. If you see green cambium underneath, there’s life left. Dead branches snap cleanly and show brown all the way through. Focus your removal efforts on specimens that are obviously goners: completely blackened trunks, trees leaning dangerously toward structures, or anything that screams “hazard” to someone pulling up for a showing.
For trees worth saving, prune back to healthy wood using clean cuts just above outward-facing buds. Remove no more than a third of the canopy in one season, stressed trees need their remaining leaves to recover.
Here’s where honesty matters: if you’re dealing with large trees or anything near power lines, call a certified arborist. Yes, it costs more upfront, but a massive dead spruce toppling during a buyer’s walkthrough costs you the sale. Professional removal also means proper stump grinding, which eliminates the eyesore completely rather than leaving a charred reminder of the fire.
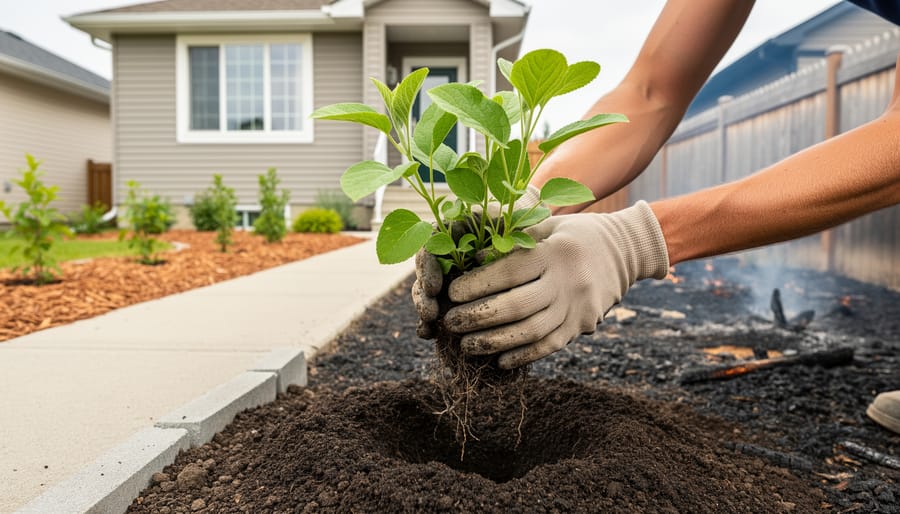
Replant with Fast-Growing, Hardy Options
Choose plants that establish quickly and show visible growth within a single season, buyers need to see life, not bare soil. In Zone 3, your window is short, so focus on proven performers that tolerate stress and fill space fast.
For perennials, daylilies and Siberian iris are nearly indestructible, spreading rapidly and blooming the first summer after planting. Black-eyed Susans and purple coneflowers add immediate colour and require zero fussing. Plant these in groups of five or more for impact, scattered singles look tentative.
Shrubs like potentilla and spirea grow aggressively even in poor soil, producing flowers within weeks of planting. Dogwood varieties add year-round interest with coloured stems that look intentional even in winter. Choose container-grown specimens in May or early June so they establish before August frost threats.
Ground covers matter more than you’d think. Creeping thyme and ajuga spread quickly, suppressing weeds and covering scarred areas. They signal “cared for” rather than “abandoned.”
Plant immediately after soil amendment, waiting costs you valuable growing weeks. Water consistently for the first month, then taper off. By fall, you’ll have visible growth that tells buyers the worst is behind you.
Add Mulch and Define Edges
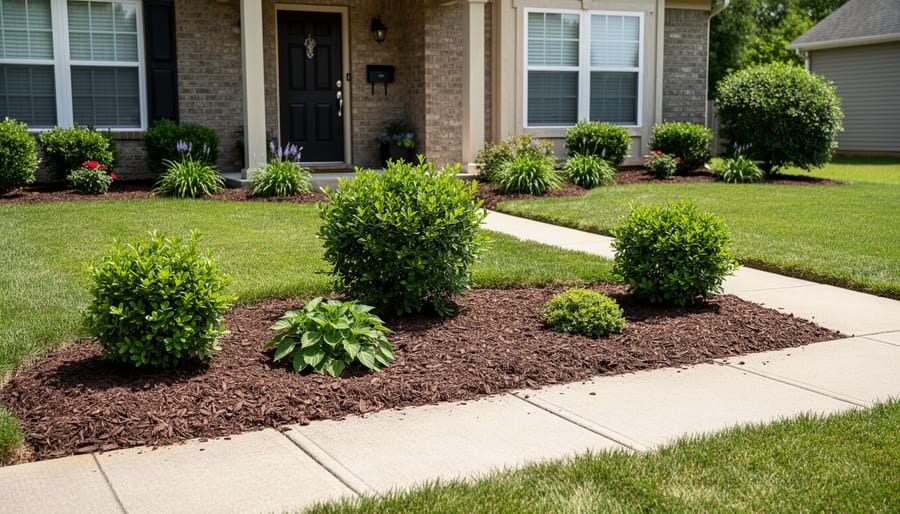
Fresh mulch is one of the fastest, most affordable ways to hide lingering fire damage and create a polished look that buyers notice immediately. A three-inch layer of dark, shredded bark mulch covers ash-stained soil, suppresses weeds, and signals that someone has actively cared for the property. In Zone 3, apply mulch after the soil has warmed in late May or early June, it helps retain moisture through our dry summer months and insulates plant roots heading into winter.
Defining clean bed edges transforms a yard from “recovering” to “maintained.” Use a flat spade or edging tool to carve sharp lines between lawn and garden beds, then edge along pathways and around trees. These crisp borders create visual structure and help buyers see distinct garden “rooms” rather than a vague, damaged expanse. If existing walkways are cracked or stained, outline them with fresh mulch or small stones to draw the eye away from imperfections. Finishing touches like these demonstrate pride of ownership, a powerful psychological signal during showings.
Quick Wins: Cosmetic Touches That Help Close the Sale
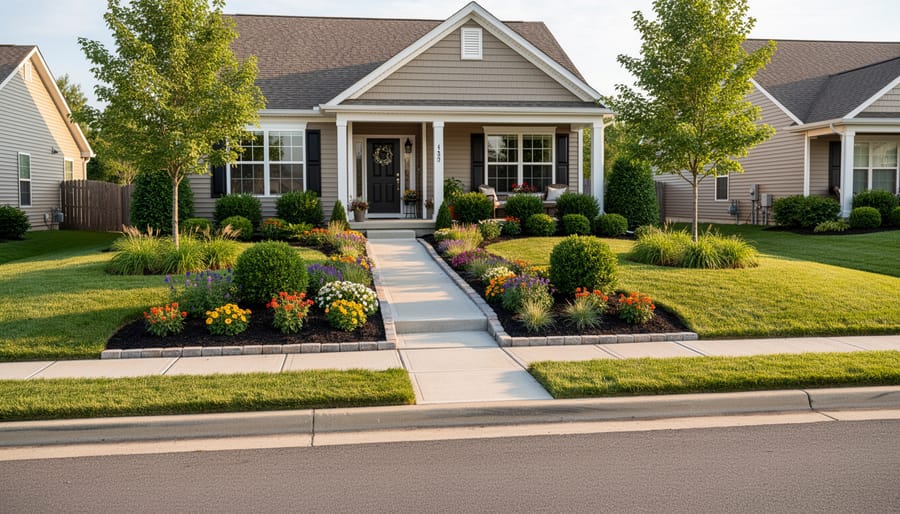
Sometimes you can’t wait for seeds to sprout or shrubs to fill in. When showings are scheduled and buyers are walking through, you need your property to look intentional and cared for right now. These quick cosmetic fixes create immediate visual impact without requiring weeks of waiting or significant expense.
Start with what buyers see first: the lawn. Patching bare spots with rolls of sod transforms a scarred yard overnight. You don’t need to re-sod everything, strategic patches in the most visible areas (front walkway, entry view from the street) make the biggest difference. Once sod is down and established, knowing when to mow new grass keeps it looking intentional rather than rushed.
Container plantings offer another instant win. Large pots filled with blooming annuals or evergreen shrubs flank doorways beautifully and signal that someone’s taking care of this place. Choose containers in coordinating colors and group them in odd numbers for a designer touch.
Here are additional fast improvements that maximize buyer impression:
- Fresh mulch spread 2-3 inches deep in all beds to cover ash stains and create uniform color
- Painted or power-washed fences and hardscaping to eliminate smoke residue and char marks
- Defined bed edges with a clean cut line separating lawn from garden areas
- Pressure-washed walkways and driveways to remove soot and create a welcoming entry
- Solar path lights along walkways for evening showings
Even basic cold-month cleanup raking debris, trimming ragged edges, removing dead annuals, demonstrates ongoing care. Buyers need to see that the property is moving forward, not stuck in damage mode. These cosmetic touches bridge the gap between major restoration work and sale-ready presentation, often for just a few hundred dollars and a weekend of effort.
How to Know Your Landscape Is Sale-Ready
Stand at the curb and look at your property as a stranger would. If your first impression is “cared for and recovering” rather than “disaster zone,” you’re on the right track. The exterior doesn’t need to look untouched by fire, buyers understand what happened, but it should signal that the worst is behind you and the home is move-in ready.
Start with a practical checklist: all debris removed, no dead plants or charred stumps visible from the street, lawn patched or reseeded with even green coverage, and fresh mulch defining clean bed edges. Walk the perimeter and eliminate any lingering eyesores, a half-burned fence section, piles of ash, or blackened siding that could be pressure-washed. Your realtor can provide invaluable perspective here; they know what local buyers expect and which compromises are acceptable versus deal-breakers.
Compare your property to neighboring homes. You don’t need to outshine them, but you should look comparable in neatness and care. If everyone else has mature foundation plantings and yours are bare, a few strategically placed shrubs or hardy perennials from winter sowing can close that visual gap without major expense.
Regarding disclosure, Alberta law requires you to reveal material defects that affect property value. Fire damage falls into that category, but your landscaping recovery actually strengthens your position, it shows proactive remediation. Document what you’ve done: soil testing results, professional assessments, receipts for amendments and plantings. This transparency builds buyer confidence rather than raising red flags.
Working with Real Estate Professionals and Next Steps
Once your landscape shows signs of recovery, it’s time to loop in real estate professionals who understand fire-damaged properties. Not every agent has experience marketing homes with fire history, so seek out realtors who’ve successfully sold distressed properties in your area. They’ll help you determine whether your landscaping work is sufficient or if buyers will still negotiate heavily based on remaining damage.
Your agent can also advise on pricing strategy. A partially restored landscape signals you’ve invested in recovery, which often justifies a higher asking price than selling “as-is” with visible fire damage. However, don’t expect to recoup every dollar spent on restoration, the goal is removing barriers to sale, not maximizing landscaping ROI.
Be transparent about what you’ve done. Document your cleanup, soil testing, and replanting efforts with photos. Some buyers actually appreciate seeing the recovery process, as it demonstrates the property’s resilience and your commitment to proper restoration.
If budget constraints limit your work, focus restoration on the front yard and entry areas where first impressions form. Many buyers will accept a backyard that needs finishing if the home’s face looks cared-for and welcoming.
Common Questions About Fire-Damaged Landscaping and Home Sales
Getting questions about what’s realistic and worthwhile after a fire? You’re not alone, every homeowner facing this situation wrestles with the same concerns about how much effort landscaping deserves when you just want to sell and move forward.
Do I really need to fix the landscaping before listing my fire-damaged house?
You don’t have to, but basic cleanup and safety work dramatically improves buyer interest and sale price. At minimum, remove debris, address hazards, and create a tidy appearance, buyers struggle to see past neglected outdoor spaces.
Will landscaping work actually increase what I get for the house?
Yes, typically. Realtors report that homes with restored curb appeal sell faster and for 5-10% more than comparable properties with visible fire damage, even when the house itself is equally repaired. First impressions matter enormously.
How long does it take to see visible recovery in Zone 3 gardens?
If you plant in May, you’ll see meaningful growth by August, enough to show buyers the landscape is recovering. Fast-growing perennials and sod give near-instant results, while shrubs need a full season to look established.
What if I can’t afford major landscape restoration right now?
Focus on cleanup, mulch, and a few flats of colorful annuals in high-visibility areas. You can also disclose the damage honestly and adjust your asking price accordingly, some buyers prefer to handle landscaping themselves.
The honest truth? Every situation is different. If insurance covers landscaping restoration, use those funds strategically on the work that delivers the biggest visual impact. If you’re paying out of pocket, talk with your realtor about the local market, in some Alberta neighborhoods, buyers expect move-in ready; in others, they’re comfortable with fixer-uppers and you can price accordingly.
One approach I’ve seen work well: handle the safety issues and basic cleanup yourself, then get three quotes for professional replanting. Use the middle quote to negotiate with your realtor about whether that investment makes financial sense given your likely sale price. Sometimes the answer is yes, restore everything. Sometimes it’s no, disclose and discount. Often it’s somewhere in between, do enough to show care and let buyers envision the potential.
Gardens are remarkably resilient, and so are you. I’ve watched countless Zone 3 yards bounce back from fire damage, sometimes in ways that surprised even experienced gardeners. What looked devastated in early spring became lush and inviting by midsummer, proving that nature has an extraordinary capacity for renewal when given a little help.
You don’t need a magazine-worthy transformation to sell your home successfully. Even straightforward improvements, fresh mulch, a handful of cheerful perennials, a neatly edged lawn, shift the narrative from “fire damage” to “recovery in progress.” Buyers respond to care and attention more than perfection. When they see you’ve invested effort in healing the landscape, they feel confident the property has been looked after overall.
This journey isn’t easy, and I know the emotional weight you’re carrying. But every small step forward matters, both for your sale prospects and your own peace of mind.
I’d love to hear your story. What worked in your fire-damaged yard? What surprised you during the recovery? Share your experiences in the comments below, your insights might be exactly what another homeowner needs to hear right now.